DIY Guide: Make Your Own Smell Proof Bag That Works
When you need to keep strong odors under control, buying a smell proof bag from STASH PROOF is a smart move — they're K9-tested and come in some seriously cool designs. But what if you could make one yourself without spending a dime? Whether you're looking for a discreet storage solution, prepping for travel, or just want a creative DIY project, learning how to make a smell proof bag at home is both practical and rewarding.
Why Go DIY with Smell Proof Storage?
There are plenty of commercial smell proof bags out there like STASH PROOF, Revelry, or Skunk Bags. These brands offer high-tech solutions with carbon lining, waterproof materials, and advanced zipper seals. But those features come at a cost. If you're short on cash or enjoy customizing things to your needs, making your own scent proof bag gives you total control over the size, design, and materials.
Plus, it’s easier than you think. You don’t need fancy machines—just a few basic items already around your home.
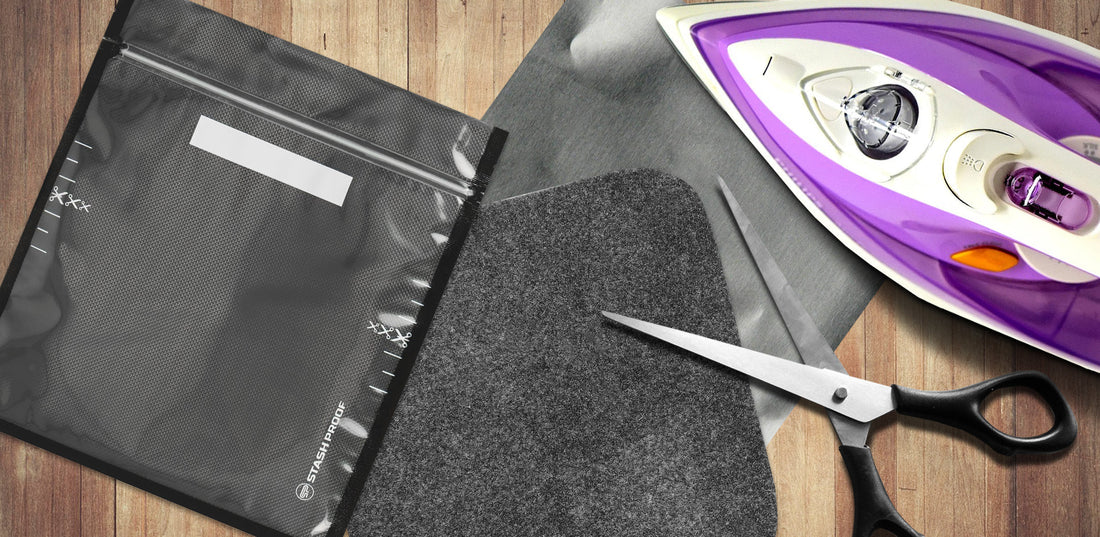
Materials You'll Need
Before you get started, gather these essentials:
- A durable, thick ziplock or vacuum-seal bag. (Tip: Try Stash Proof's 5.5 Mil Zipper Storage Bag—highly recommended.)
- Activated carbon fabric or sheets (from Amazon or air purifier replacements — it’s simply activated charcoal fabric).
- Aluminum foil or Mylar wrap (optional but adds a solid barrier).
- A small iron or vacuum sealer.
These materials help block odor molecules and reinforce structure. A good smell proof stash bag uses a multi-layer approach. The carbon lining, made from activated charcoal, helps absorb odors—so think like an engineer.
Step-by-Step Instructions
Step 1: Line the Bag with Carbon
Cut a piece of activated carbon sheet to match your bag’s size. Place it inside as the inner lining. This is your first line of defense—it absorbs odor before it escapes.
Step 2: Add Foil or Mylar Layer (Optional)
Wrap your items in aluminum foil or Mylar before placing them inside. This adds a reflective layer to trap odors. (⚠️ Note: Foil can trigger TSA inspections.)
Step 3: Seal it Tight
Push the air out of the bag and seal it. Use a vacuum sealer if available. Otherwise, press tightly and seal with care.
Step 4: Double Bag It (Optional)
Place your lined bag inside another vacuum-seal ziplock or smell proof pouch. Layering significantly cuts odor leakage.
Helpful Tips
- Test your bag by sealing something aromatic (like garlic or herbs), placing it inside a lunch box, and checking for leaks the next day.
- If carrying your DIY stash bag in public, consider wrapping it in fabric or placing it inside a pouch for extra stealth.
What Makes a Bag Truly Smell Proof?
It's not just about materials—it’s how they’re combined. A smell proof bag needs to be airtight, durable, and lined with odor-absorbing layers. Think of it as a DIY odor proof bag solution, not just storage. With the right layering and tight sealing, your homemade bag can compete with many retail options.
When to Use It
Your homemade stash pouch is perfect for:
- Traveling with strong-scented snacks
- Storing herbs or spices
- Carrying dog treats or litter
- Keeping gym gear fresh in your car
Whether for everyday use or occasional needs, a well-made DIY smellproof bag holds its own against basic retail options.
Final Thoughts
Making your own smell proof storage bag is one of those DIY wins—it saves money, gives you creative freedom, and genuinely works. It may not replace premium, multi-layer scent proof bags like Stash Proof, but it’s a strong alternative when you need something quick.
Now that you know how to make a smell proof bag, you'll never look at your ziplocks or vacuum seal bags in the kitchen the same way again.